Measuring the temperature with the Raspberry Pi using the PiLogger is very easy.
The PiLogger provides a special input which is compatible with very common temperature sensors used in the heating and HVAC industry. With a jumper you can configure this input to either work with so called NTC sensors having 10 kOhm or with PTC sensors of the type PT1000.
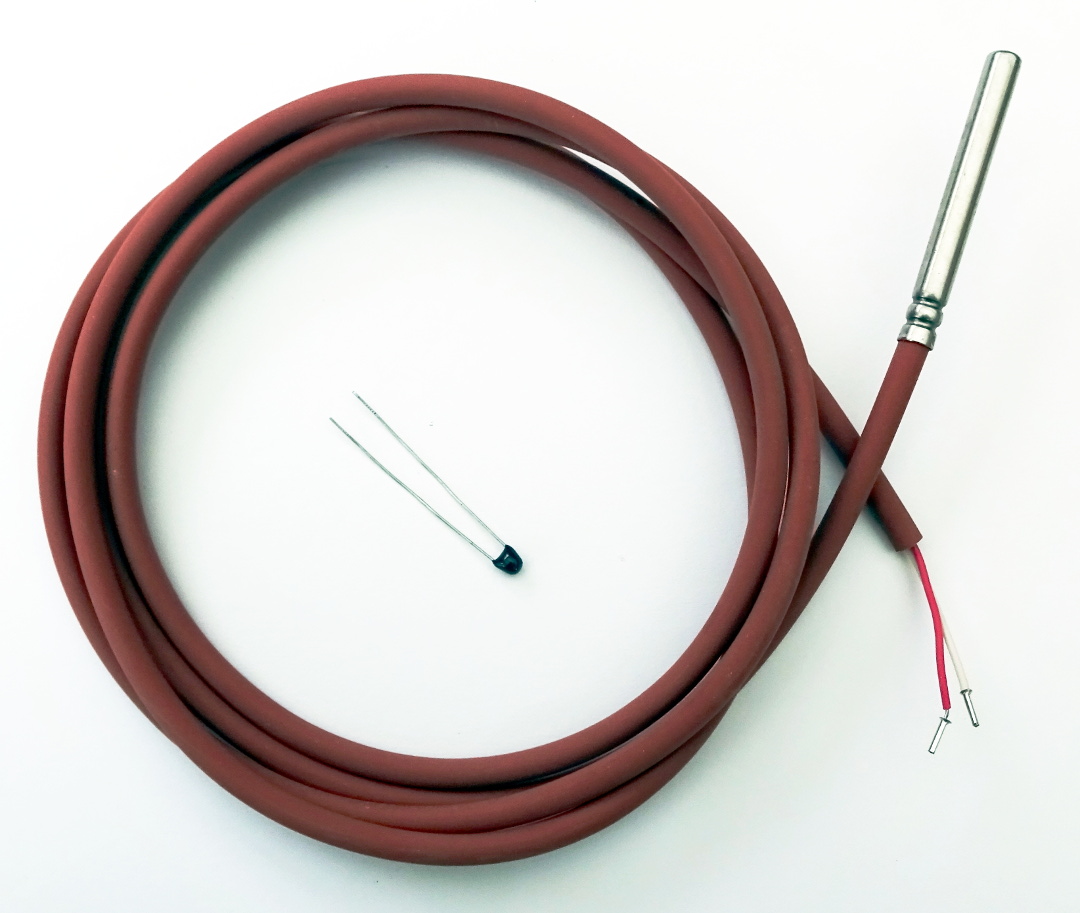
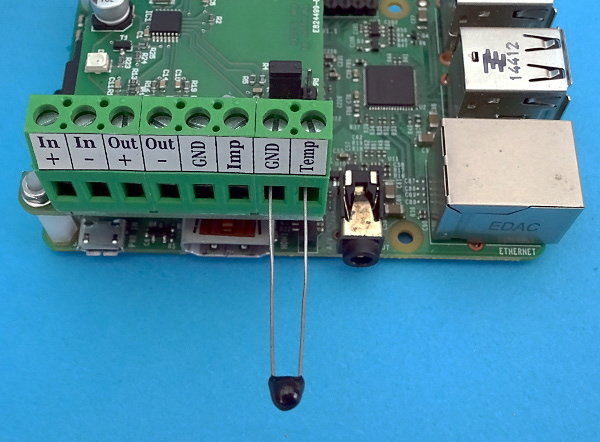
Those two types are available in many variants, for instance as water proof tube sensor, as pipe attachable sensor or as high temperature sensor. They are offered as ready made 2 wire sensors almost with a cable length of 2m for around 10€. So they are suitable for a wide field of applications. Especially the NTC type of temperature sensors are offeres also as not enclosed pure electronic components, so they can be integrated to any custom project with special requirements.
Connecting the Sensor
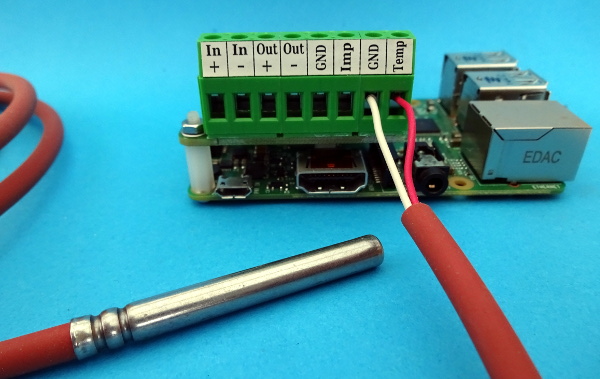
Connecting the temperature sensor to the PiLogger is as easy as can be. Just push the to wire ends into the both screw terminals at the right edge labeled 'Temp' and 'GND' and fasten them by the screws. Actually it doesn't matter which wire is connected to what terminal, as the sensor works like an resistor and therefore in both directions the same.
Measurement and Logging
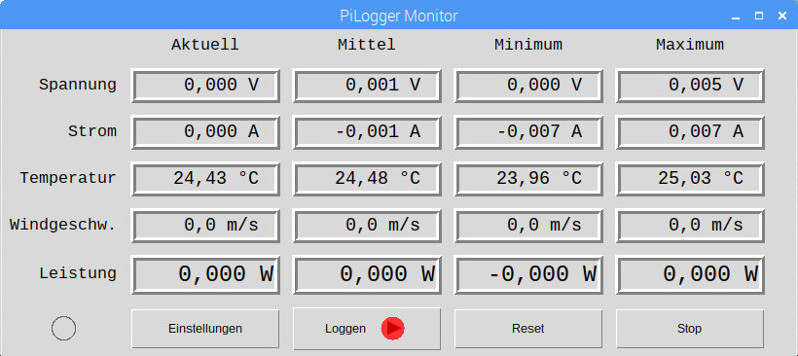
In case the base software for the PiLogger, which is available in the download section, is already installed to the Raspberry (see manual), you just have to start this software now to check the function of the sensor. In the monitor window you can watch the temperature values live. Just test the reaction to your warm finger tips at the sensor. You also can do all necessary settings at the PiLogger for your logging task by this software.

Concept of Operation
The temperature measurement is done by measuring the temperature depend resistance of those kind of sensors. This analogue value is converted by an 16 bit analog to digital converter (ADC) contained in the PiLogger to a 2 byte number. This measurement is performed periodically with the given time interval. This interval can be set in the range between 0,1 seconds and more than 18 hours.
After each completed measurement the PiLogger signals the Raspberry that new measurement values can be retrieved. The software running on the Raspberry takes over the task to calculate the measurement values from the raw data and any desired post processing as well as storing the results. Storing can be done either directly to the SD card or for instance by sending via WiFi to a remote computer.


